
Showing posts with label tutorial. Show all posts
Showing posts with label tutorial. Show all posts
Sunday, December 12, 2010
Handmade Holiday
If you haven't seen it yet, go check out my Handmade Holiday Blogathon on my new blog! You'll find TONS of tutorials, recipes, gift ideas, advice, and more to give this holiday an awesome handmade touch. Enjoy! :D
Saturday, July 31, 2010
Strawberry Mint Lemonade

It's still frothy from the blender. And it's YUM.
Strawberry Mint Lemonade:
- Pour lemonade (I used this whole jar) in blender.
- Add 8-12 fresh strawberries, leaves removed.
- Add leaves from 3-5 sprigs of mint.
- Puree until smooth.
- Drink your tasty, tasty treat!
Monday, July 26, 2010
Sew YOU! Sneak Peek #1
Happy Monday :)
Here's a sneak peek of two projects I'm perfecting for Craft Academy's Fall Semester!


Sew You 101 will consist of a series of sewing projects that become more complex as your skills grow. I'll be teaching valuable sewing skills all semester long! Stay tuned to learn more!
Remember: Registration opens August 8th!
Here's a sneak peek of two projects I'm perfecting for Craft Academy's Fall Semester!


(I'm not going to tell you what they are - yet!)
Sew You 101 will consist of a series of sewing projects that become more complex as your skills grow. I'll be teaching valuable sewing skills all semester long! Stay tuned to learn more!
Remember: Registration opens August 8th!
Saturday, June 26, 2010
4th of July Party Pack

Coming soon: the first Craft Academy Party Pack! It's packed full of tutorials for the best Independence Day ever! We've made food, decorations, of course these awesome picnic placemats (wait 'til you see it unrolled!), and more :D You should check it out ;) (And tell your friends!)
Tuesday, June 22, 2010
Summer Projects
Obviously I'm going to be very busy this summer. I'm job hunting, starting Craft Academy, updating my Etsy shop, probably redesigning my blog (time for a facelift, right?), and continuing to work on my portfolio. But aside from all that "work" (hehe), I'd like to throw in some fun, personal projects. Here are a few I have my eye on...


I'd also like to knit (or maybe crochet) a small shrug. I haven't found the perfect free pattern yet though. Anyone have one to share? Aside from these, we'll probably also be working on our apartment...I love redecorating :D And Alex and I are thinking of getting me an old Honda motorcycle to rebuild.......but that may be a more distant project. But I can still think about it this summer ;D
Fruity trivets and potholders via the Purl Bee (aren't these adorable?!)
I'm thinking the lime is my fav, but I may make a new color combo to make apples! Which would you do?
Rainbow cupcakes! (Lemon Drop Rainbow Cupcakes via Bite Size Baker)
I love rainbows and I love cupcakes. So...makes sense, right? :)
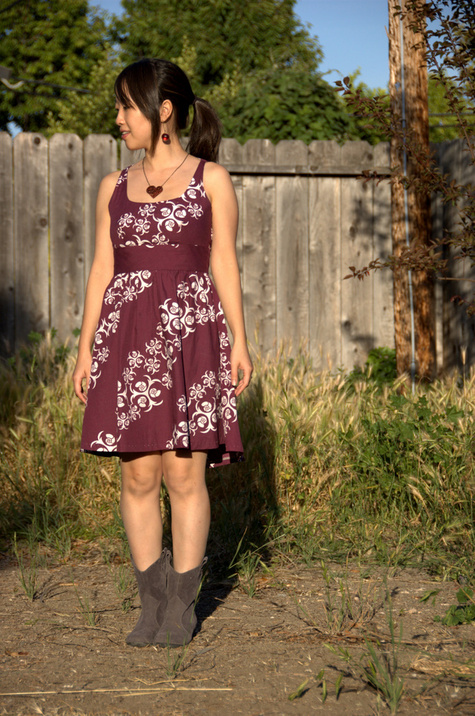
The Danielle Dress, a free pattern on BurdaStyle
This dress should be pretty easy to modify - neckline, length, sleeves, etc. And it's so simple and cute! I'm excited to make another dress ^_^ (Plus it's on my 2010 goals!)
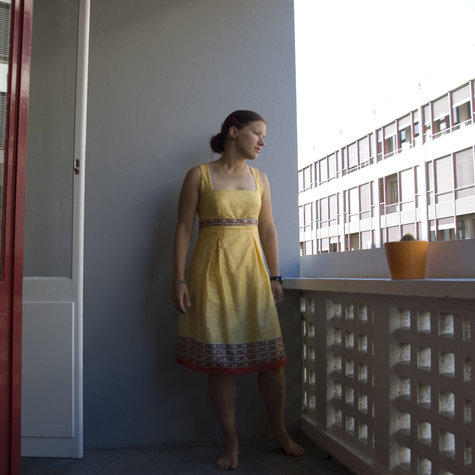
Or maybe I'll make this Work Dress (it's a wrap style), also on BurdaStyle.
It's pretty nifty, not to mention handy! I looove pockets.
Crocheted Dishcloths via Lion Brand Yarn
I think my favorite thing might actually be the colors :P
Root beer cookies?! That just sounds awesome! [Recipe here, but via The Dainty Squid] I also found some Dr. Pepper chocolate cake mix, so I may have to try to make my own recipe for that...It's going to be a tasty summer!
I'd also like to knit (or maybe crochet) a small shrug. I haven't found the perfect free pattern yet though. Anyone have one to share? Aside from these, we'll probably also be working on our apartment...I love redecorating :D And Alex and I are thinking of getting me an old Honda motorcycle to rebuild.......but that may be a more distant project. But I can still think about it this summer ;D
What just-for-fun projects are you working on this summer?
Monday, June 14, 2010
DIY Fabric Gift Tag!

In case you didn't see my post on Saturday, I made a gift tag for my friends' wedding present! I was so excited about it that I decided to share a tutorial for it :D *yay!*

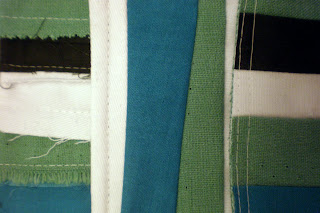
First things first, pick out your fabric. I chose a fabric to match their wedding colors. I cut my pieces to be 4x6" (so 4x3" folded). But the gift tag can be any size really - it's up to you. It's a great way to use scraps! You'll need:
- one 4x6" piece for the outside (my purple pattern)
- one 4x6" piece for the inside (I chose off-white, so it wold be easy to write on)
- one 4x6" piece of interfacing (I use iron-on)


Cut your pieces and iron them out (so glad I started ironing all my sewing projects!). Iron on your interfacing, if you're using iron-on like I did, in between the two other pieces.

Now sew the pieces together! (You can pin first if you like.) I sewed two lines to make sure the sides were secure.


Now trim off the excess. Then all you have to do is fold in half and iron!

Voila! Gift tag! Grab a permanent marker to write your message, attach with ribbon, and you're set :D
Tuesday, May 11, 2010
Granny Squares!
This weekend I was inspired again by granny squares. Have you read my post over on the Birds of a Feather blog? It's full of creative ideas for using granny squares, and I added a couple links so you can make your own ^_^ After doing the whole post, I found enough time to learn myself! (Yay for babysitting :D) I made my first granny square!!!!
 How fun :D Let's just say this attempt was far more successful than my first - inside a car, at night, tutorial on my phone - haha! For a while now I've had some ideas for new products for my shop, but first I needed to learn to make these beautiful little guys :) I'm already working on new projectssss!!!! Look for them soon ;)

Monday, April 12, 2010
You Are So Warped.
(Or: How to reuse an old canvas)
(Or: How to make a stenciled painting)
(Or: How to make a stenciled painting)
A couple years ago I made a flower painting out of boredom to lighten up my room. After moving in with Alex, it managed to make it onto the wall in our apartment here. After looking at it for this long, I got tired of it. But why just throw it away? Instead, I decided to reuse the canvas! I turned the flower painting into my new "You Are So Warped" stenciled painting:


[In case you are curious, my mom once said this to me, jokingly, and I thought it was hilarious. Her reaction to the painting: "Surely I never said that!" ;)]

Saturday, April 3, 2010
April Fool...for spring
Yesterday was wonderful. I'm so glad I had Good Friday off of work.
Did you do anything special?
You can see my list on yesterday's post ;)
Here are the photos from my bike ride, when I left behind all my worries.
It was beautiful.


 I then picked up a smoothie from the Daily Juice.
(I needed the nourishment.)
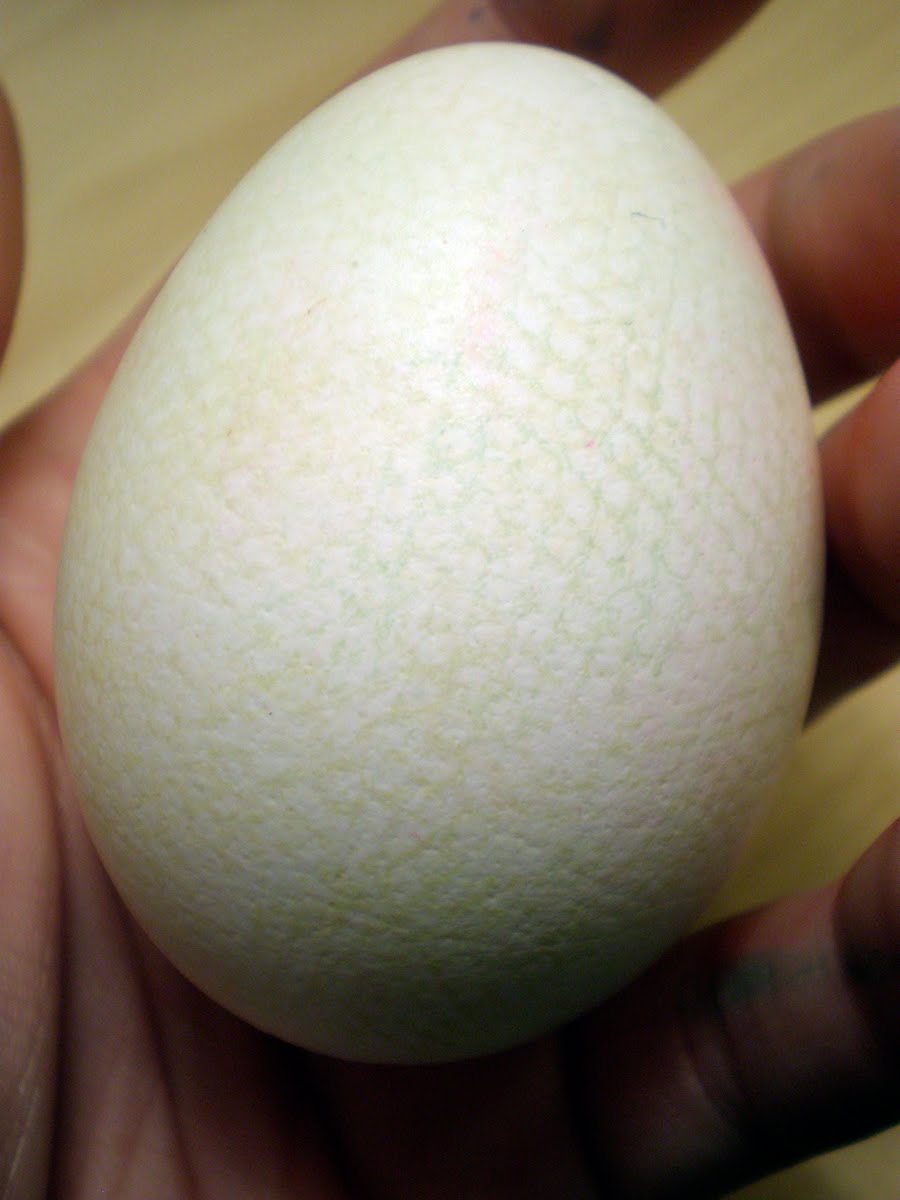
And headed to my sister's to dye Easter eggs.
(Check out my post on Birds of a Feather...
and my video tutorial on Robo Roku!)


 And there are a million more photos on Flickr.
It was the best way to start a weekend.
Today was really busy too.
I had a great lunch with Renee, catching up and scheming ;)
I ran a couple errands.
And I've done lots of photo editing!
Happy Saturday, all :-)
Did you do anything special?
You can see my list on yesterday's post ;)
Here are the photos from my bike ride, when I left behind all my worries.
It was beautiful.


(I needed the nourishment.)
And headed to my sister's to dye Easter eggs.
(Check out my post on Birds of a Feather...
and my video tutorial on Robo Roku!)


It was the best way to start a weekend.
Today was really busy too.
I had a great lunch with Renee, catching up and scheming ;)
I ran a couple errands.
And I've done lots of photo editing!
Happy Saturday, all :-)
Subscribe to:
Posts (Atom)